출처 : magicalcode.tistory.com/40
프래그먼트(Fragment) 는 하나의 액티비티에 각 화면을 분할, 독립적인 코드로 구성하는 것을 말합니다.
그래서 액티비티와 프래그먼트,
프래그먼트와 또 다른 프래그먼트끼리 통신을 할 필요가 있습니다.
어떻게 할 수 있을까요?
바로 시작합니다!
액티비티 < - > 프래그먼트
A프래그먼트 < - > 액티비티 < - > B프래그먼트
데이터 전달하기
1. 프래그먼트 띄우기
데이터를 전달하기 위해서 간단한 앱을 만들겠습니다.
이미 구성하신 분들은 2번부터 봐주세요~
아래와 같이 프래그먼트 클래스 및 .xml 를 먼저 만들어주세요.


그리고 각각의 레이아웃을 만들어 주시는데요.
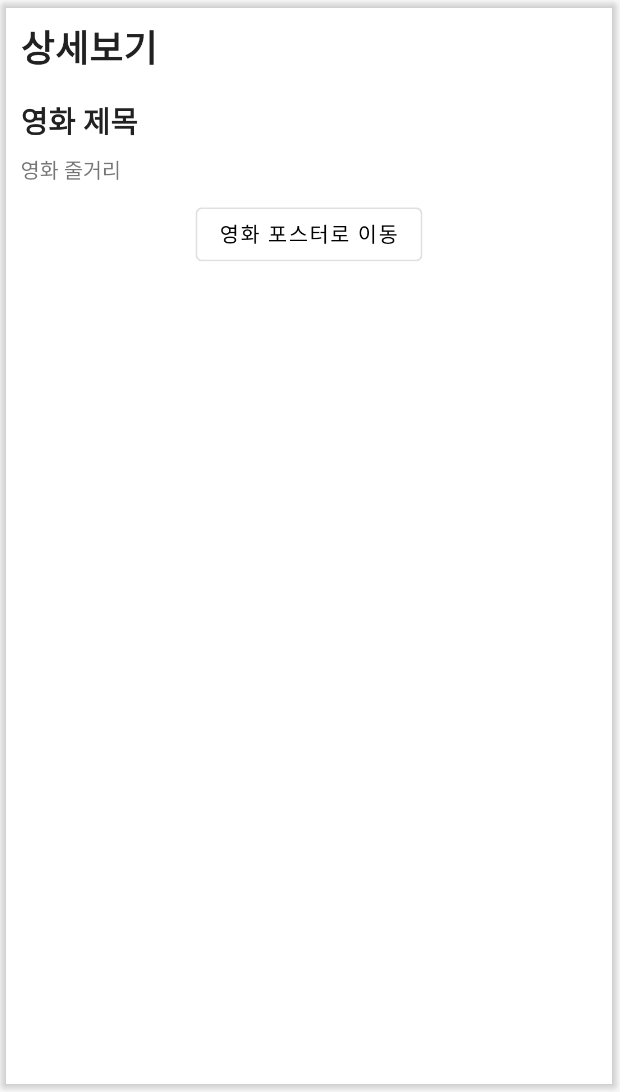
저는 간단히 영화 포스터를 보여주고 버튼을 누르면 상세화면으로 바뀌도록 구성했습니다.
fragment_a.xml

fragment_b.xml

그래서 우선 액티비티에서 A_Fragment() 를 즉시 띄우도록 했습니다.
class MainActivity : AppCompatActivity() {
    override fun onCreate(savedInstanceState: Bundle?) {
        .
        .
        .
        setFragment(A_Fragment())
    }

    //프래그먼트 띄우기
    fun setFragment(fragment: Fragment) {
        val transaction = supportFragmentManager.beginTransaction()
        transaction.replace(R.id.frameLayout, fragment)
        transaction.commit()
    }
}
2. 액티비티에서 프래그먼트로 데이터 전달하기
자, 저는 액티비티에서 곧바로 A_Fragment() 를 띄우도록 했는데요.
데이터도 같이 보내도록 하겠습니다.
class MainActivity : AppCompatActivity() {
    override fun onCreate(savedInstanceState: Bundle?) {
        .
        .
        .
        //setFragment(A_Fragment())
        setDataAtFragment(A_Fragment(), "버킷 리스트")
    }

    //프래그먼트에 데이터 전달하기
    fun setDataAtFragment(fragment:Fragment, title:String) {
        val bundle = Bundle()
        bundle.putString("title", title)

        fragment.arguments = bundle
        setFragment(fragment)
    }

    //프래그먼트 띄우기
    fun setFragment(fragment: Fragment) {
        val transaction = supportFragmentManager.beginTransaction()
        transaction.replace(R.id.frameLayout, fragment)
        transaction.commit()
    }
}
기존의 코드에서 setDataAtFragmetn() 함수를 추가해줬습니다.
데이터를 Fragment 의 arguments 에 넣어주는 함수죠.
(안드로이드는 프래그먼트 생성과 동시에 데이터를 전달하거나 받을 수 있는 arguments 를 제공합니다.)
이 argument 는 Bundle객체로 데이터를 전달할 수 있고,
Bundle 객체는 데이터를 Key와 Value 의 쌍으로 전달합니다.
액티비티에서 데이터를 전달했고, 프래그먼트는 받아야 겠죠?
아래 코드로 받을 수 있습니다.
class A_Fragment : Fragment() {
    private var title: String? = null

    override fun onCreate(savedInstanceState: Bundle?) {
        super.onCreate(savedInstanceState)
        arguments?.let {
            title = it.getString("title")
        }

        Log.d("A_Fragment", "영화 제목 : ${title}")
    }
}
이렇게 로그로 확인할 수 있습니다.

간단하죠?
이렇게 액티비티에서 프래그먼트로 데이터를 전달했습니다.
그럼 이제 반대로 프래그먼트에서는 액티비티로 어떻게 전달하는 방법을 알아보겠습니다.
3. 프래그먼트에서 액티비티로 데이터 전달하기
액티비티에서는 프래그먼트의 arguments 를 이용해 데이터를 전달했습니다.
그런데 프래그먼트에서 액티비티로 전달하는 것은 더 쉽고 간단합니다.
class A_Fragment : Fragment() {
    .
    .
    .

    override fun onViewCreated(view: View, savedInstanceState: Bundle?) {
        super.onViewCreated(view, savedInstanceState)
        .
        .
        .

        //'상세보기' 버튼을 눌렀을 때
        btnGoDetail.setOnClickListener {
            val mActivity = activity as MainActivity
            mActivity.receiveData("A프래그먼트")
        }
    }
}
끝났습니다.
너무 간단하죠?
그저 액티비티 객체를 만들어 액티비티에 만들어 둔 함수를 호출해주면 됩니다.
물론 호출 하기 전에 액티비티에는 receiveData() 라는 함수를 만들어놔야 합니다.
class Main() {
    fun onCreate() {
        .
        .
        .
    }

    fun receiveData(who:String) {
        Log.d("Main", "누구인가요? '${who}'입니다")
    }
}
역시 '상세보기' 버튼을 누름과 동시에 로그를 확인할 수 있습니다.

4. 프래그먼트에서 프래그먼트로 데이터 전달하기
2, 3번의 방법으로 액티비티와 프래그먼트 간 데이터를 전달했습니다.
그럼 프래그먼트와 프래그먼트끼리 데이터는 어떻게 전달할 수 있을까요?
네, 맞습니다.
결국은 액티비티가 프래그먼트를 교체하는 것이기 때문에 위 방법을 그대로 사용하면 됩니다.
그래도 한번 보겠습니다.
크게 다르지 않습니다.
먼저, A_Fragment()의 '상세보기' 버튼을 눌러 MainActivity 의 setDataAtFragmetn() 를 호출, 교체할 프래그먼트와 데이터를 파라미터로 전달합니다.
class A_Fragment : Fragment() {
    .
    .
    .

    override fun onViewCreated(view: View, savedInstanceState: Bundle?) {
        super.onViewCreated(view, savedInstanceState)
        .
        .
        .

        //'상세보기' 버튼을 눌렀을 때
        btnGoDetail.setOnClickListener {
            val mActivity = activity as MainActivity
            mActivity.setDataAtFragment(B_Fragment(), "버킷리스트")
        }
    }
}
MainActivity 에서는 딱히 건드릴게 없네요.
class MainActivity : AppCompatActivity() {
    override fun onCreate(savedInstanceState: Bundle?) {
        .
        .
        .

        setDataAtFragment(A_Fragment(), "버킷 리스트")
    }

    //A_Fragment 에서 데이터를 수신
    fun setDataAtFragment(fragment:Fragment, title:String) {
        val bundle = Bundle()
        bundle.putString("title", title)

        fragment.arguments = bundle
        setFragment(fragment)
    }

    //데이터가 셋팅된 프래그먼트 띄우기
    fun setFragment(fragment: Fragment) {
        val transaction = supportFragmentManager.beginTransaction()
        transaction.replace(R.id.frameLayout, fragment)
        transaction.commit()
    }
}
마지막으로 최종 목적지인 B_Fragment 의 onCreate() 에서 값을 가져올 수 있습니다.
class B_Fragment : Fragment() {
    private var title: String? = null    //전역변수로 사용

    override fun onCreate(savedInstanceState: Bundle?) {
        super.onCreate(savedInstanceState)
        arguments?.let {
            title = it.getString("title")    //데이터 수신
        }
    }
}
'Android' 카테고리의 다른 글
| 팝업 프래그먼트 만들기 (0) | 2021.06.24 |
|---|---|
| 안드로이드에서 Dialog 버튼 결과를 액티비티에서 콜백 받기 (0) | 2021.05.21 |
| 레이아웃을 이미지로 변경하고 pdf로도 저장하기 (0) | 2021.05.13 |
| 안드로이드 라이프사이클(android lifecycle) (0) | 2021.05.01 |
| 커스텀 객체를 sharedpreferences 에 저장하고 불러오기 (0) | 2021.04.16 |
| Kotlin(코틀린) 에서 fragment 를 써보자 (0) | 2021.04.04 |
| ListView(리스트뷰) 자동 높이, 크기 조절 (0) | 2021.03.29 |
| MVVM 패턴 설명 - 2(view Model) (0) | 2021.03.27 |